
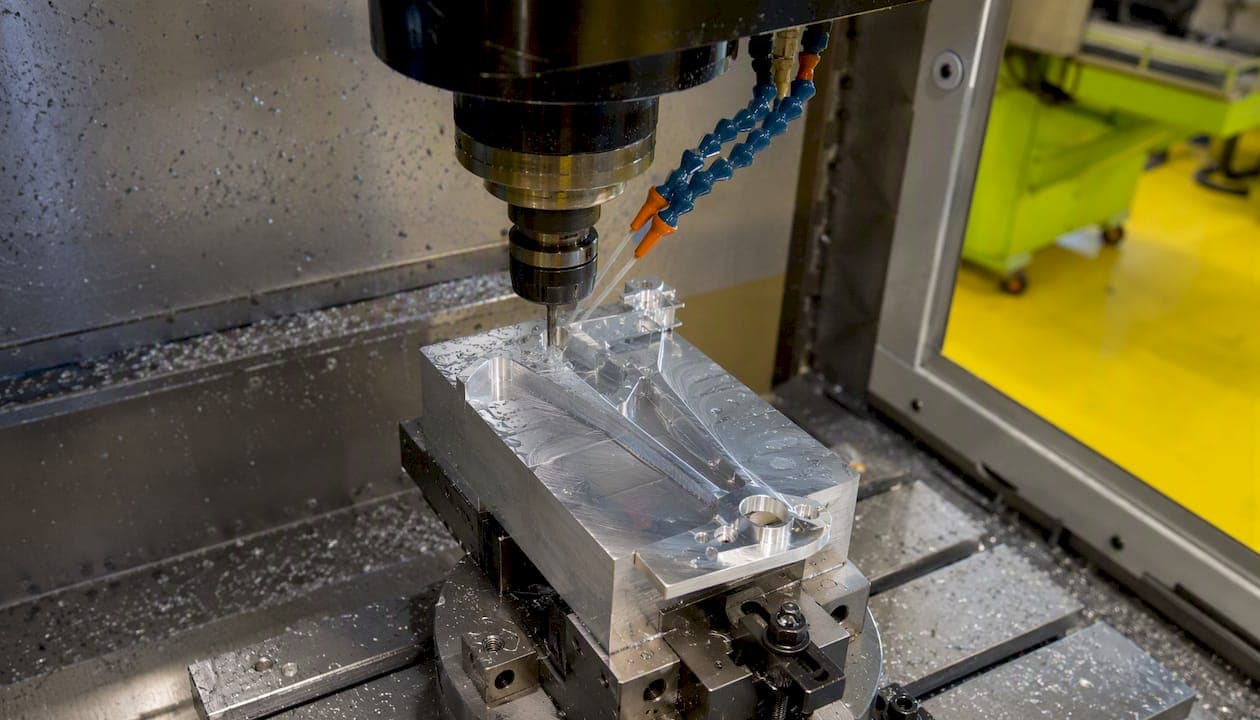
Yes. Most motorcycle parts can be CNC machined to production-ready tolerances, and for anything involving a bearing seat, a threaded mount, or a load path, it's usually the right method over casting, stamping, or hand fabrication.
CNC machining works best on structural interfaces (axle mounts, triple clamps, bearing bosses), small brackets, and anything where fit and finish affect how the part performs. It's a poor fit for large body panels or complex castings, where tooling costs for CNC don't make sense against the volume. If you're building one part to test a design, prototype it yourself or get a quick-turn quote from a job shop like Flying Chip Factory that can give design-for-manufacturability (DFM) feedback before you commit to a full run.
Before you contact anyone, get these three things ready:
- A CAD file (STEP or IGES format works with almost any shop)
- Notes on which dimensions are critical to fit or function
- A shortlist of machinists or shops to request DFM feedback from
Pro Tip: Don't wait until your design is "finished" to talk to a machinist. Sending a rough model early, even before you've locked tolerances, often catches expensive geometry problems while they're still cheap to fix.
Key Takeaways
Most motorcycle parts, especially structural and safety-critical components, machine best with tight tolerances applied only where fit or function demands them.
| Point | Details |
|---|---|
| CNC fits most parts | Structural brackets, bearing seats, and small components benefit most from CNC over casting or stamping. |
| Match material to load | Use 6061-T6 for general parts, 7075-T6 or titanium where strength-to-weight is critical. |
| Tolerance where it counts | Reserve ±0.01 mm tolerances for bearing seats; use looser bands elsewhere to save cost. |
| Involve the machinist early | Sending CAD files before the design is locked catches expensive geometry problems early. |
| Flying Chip Factory for prototypes | Offers direct machinist access, DFM feedback, and short-run CNC work, including its own kickstand product line. |
What Motorcycle Parts Get CNC Machined Most Often?
Some parts show up in nearly every custom build list, and for good reason: they're small enough to machine economically and precise enough that stamping or casting won't cut it.
The most common candidates include:
- Foot pegs and rearsets
- Brake and clutch levers
- Handlebar and triple clamps
- Engine covers and side covers
- Mounting brackets and axle blocks
- Spacers, standoffs, and sprocket carriers
- Custom intake or adapter plates
Not all of these carry the same risk if something goes wrong. Axle blocks, triple clamps, and anything touching a bearing seat are safety-critical. A tolerance miss there can mean a wheel that wobbles at speed or a fork that binds. Covers, bar ends, and other accessory pieces are more forgiving. If they're a hair off, you lose some cosmetic polish, not structural integrity. Shop pages covering motorcycle CNC work consistently list this same split between structural and cosmetic parts, which tracks with what most small shops see in their queue.
Pro Tip: If you're on a budget and can only get one part professionally machined, spend it on the safety-critical piece. Covers and cosmetic brackets are far more forgiving of a DIY attempt.
Which Materials Work Best for Motorcycle Parts?
Material choice depends on what the part actually has to survive, not just what looks good anodized.
Aluminum covers most jobs. 6061-T6 is the default for brackets, covers, and general structural parts because it machines cleanly and takes anodize well. 7075-T6 costs more and machines a little tougher, but it's worth it for high-stress parts like triple clamps or rearsets where strength-to-weight actually matters. Stainless steel earns its place on fasteners, linkages, and anything exposed to road grime and moisture, where corrosion resistance beats aluminum outright. Alloy steel shows up in axles, gears, and high-impact components that need fatigue resistance aluminum can't match. Titanium is the weight-weenie's choice for fasteners and select structural parts, but the machining cost premium only makes sense on race builds. Engineering plastics like Delrin (POM) get overlooked, but they're excellent for bushings, spacers, and anywhere a little self-lubrication and vibration damping helps.
| Material | Key Property | Typical Motorcycle Use |
|---|---|---|
| 6061-T6 Aluminum | Good machinability, anodizes well | Covers, brackets, spacers |
| 7075-T6 Aluminum | Higher strength-to-weight | Triple clamps, rearsets |
| Stainless Steel | Corrosion resistance | Fasteners, linkages |
| Alloy Steel | Fatigue and impact resistance | Axles, gears |
| Titanium (Grade 5) | Lightweight, high strength | Fasteners, race components |
| Delrin (POM) | Low friction, damping | Bushings, spacers |
Pro Tip: Choosing between 6061 and 7075 isn't just about strength. 6061 is far more forgiving to machine and finish, so unless you actually need the extra strength, it'll save you money and headaches. Understanding the difference between aluminum tempers also matters here, since T6 and T6511 behave differently once you start removing material.
How Do You Design a Part That's Easy to Machine?
Getting your machinist involved before the design is locked cuts cost and avoids rework almost every time. A five-minute conversation about wall thickness can save you a scrapped part three weeks later.
Run through this checklist before you send anything to a shop:
- Keep wall thicknesses consistent to avoid warping during material removal
- Add generous fillets and radii instead of sharp internal corners
- Make sure every hole has tool accessibility from at least one clear direction
- Design for symmetric material removal to reduce internal stress buildup
- Include sacrificial tabs on thin or fragile features if the design allows it
- Flag any feature that requires a specialty tool, since that drives cost fast
When you're ready to send the file, include:
- STEP or IGES files (native SOLIDWORKS or Fusion 360 files as a backup)
- A PDF drawing marking every critical dimension and tolerance
- Surface finish requirements (Ra values, if you know them)
- Material spec, and material test reports if traceability matters
- Photos of how the part fits into the larger assembly
Label your datums clearly and call out which dimensions are truly functional versus which ones just need to be "close enough." If the part needs to interchange with an existing OEM component, say so explicitly. Machinists also want to know your likely operations upfront (a reamed hole for a dowel pin versus a bored hole for a bearing seat, for example) since that changes both cost and setup time.
Pro Tip: Tell your machinist which holes are for bearings versus bolts. A bearing seat usually needs boring or reaming for a tight, repeatable fit, while a clearance hole for a bolt can be drilled and left alone. Mixing these up on a quote request is one of the most common miscommunications between designers and shops.
What Tolerances Should You Specify for Motorcycle Parts?
Specify tight tolerances only where they affect fit, function, or safety. Everywhere else, standard machining tolerances save time and money without costing you anything functionally.
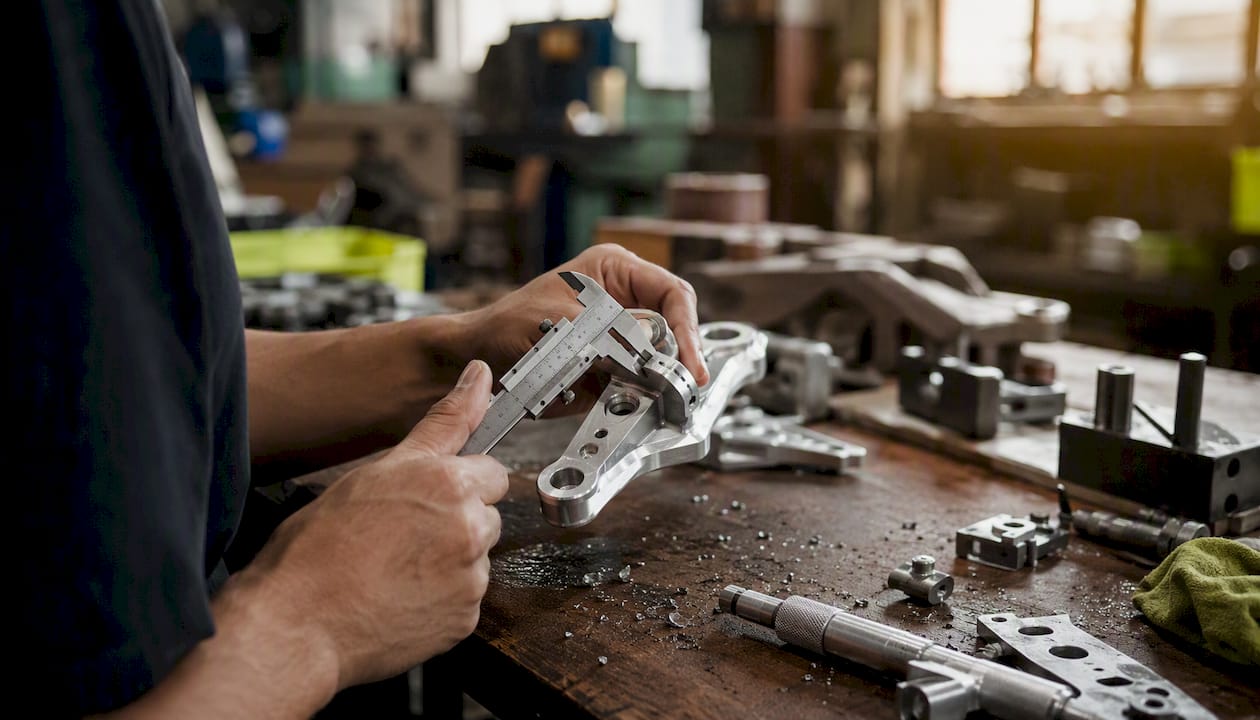
A reasonable framework looks like this:
| Feature Type | Typical Tolerance | Example |
|---|---|---|
| Noncritical dimensions | ±0.2 mm | Cover thickness, mounting hole spacing |
| Precision fits | ±0.05 to ±0.1 mm | Lever pivot bores, alignment pins |
| Bearing seats/press fits | ±0.01 mm | Axle bores, wheel bearing pockets |
These bands line up with what precision shops advertise as achievable for motorcycle-grade components, and shops with 5-axis capability and CMM verification can hold the tighter end reliably.
Inspection methods scale with the tolerance. Noncritical features usually just need a caliper check. Precision fits call for gauge pins or a coordinate measuring machine (CMM). Bearing seats deserve runout checks and a documented surface roughness (Ra) reading before anything gets coated.
Pro Tip: Request a first-article inspection (FAI) on the very first part of any new design, even if you plan to run more later. It's cheap insurance against a fixture or program error that would otherwise show up across an entire batch. If your fit check depends on a go/no-go pass, a gauge template makes that verification repeatable.
Which Machining Process Fits Your Part?
Pick the process that gets you the required geometry and surface finish in the fewest setups. Every extra setup adds cost and a new chance for alignment error.
- 3-axis milling handles flat covers, brackets, and simple pocketed parts
- 4/5-axis milling is worth it for triple clamps or rearsets with compound angles
- CNC turning suits round parts like spacers, axle blocks, and standoffs
- Swiss-style turning shines on long, slender parts like custom shift shafts
- Wire or ram EDM handles hardened materials or thin internal features that milling can't reach cleanly
| Part | Recommended Process | Tooling Note |
|---|---|---|
| Foot pegs | 3-axis milling + turning | Carbide end mills, standard coatings |
| Triple clamps | 5-axis milling | Small-diameter cutters for pocket detail |
| Spacers/axle blocks | CNC turning | Simple OD/ID toolpaths |
| Sprocket carriers | Turning + milling combo | Coated inserts for steel |
| Hardened brackets | Wire EDM | No tool wear concerns on hardened stock |
Pro Tip: A part that needs features on four sides doesn't automatically need a 5-axis machine. Sometimes an indexed 4th-axis setup with a well-designed fixture is more cost-effective than paying a premium for full 5-axis time.
Why Does Fixturing Make or Break Complex Parts?
Good fixturing is what keeps a multi-face part accurate and a thin-walled part from warping the moment you unclamp it. It's easy to underestimate until you've scrapped a part to prove the point.
Common fixturing approaches include:
- Soft jaws machined to match the part's exact profile
- Custom fixtures built specifically for one geometry
- Standard vices with parallels for simple blocky parts
- Vacuum fixtures for thin, flat components
- Step clamping to hold a part while leaving critical faces exposed
Before cutting a single chip, run through this setup checklist:
- Identify your datums and lock them for every subsequent operation
- Minimize the number of re-clamps required
- Plan material removal symmetrically to avoid pulling the part out of shape
- Add support under thin sections to prevent chatter
The most common fixturing mistake is over-clamping thin aluminum sections, which can distort the part before it ever leaves the vice. A close second is ignoring residual stress in the raw stock, which shows up as warping after the final cut releases tension the material was holding.
What Finishing Options Should You Consider?
Pick your finish based on what the part needs to survive, not just how it should look on the shelf.
- Type II or hardcoat anodize for corrosion resistance and color, with hardcoat adding real wear resistance
- Powder coat for thicker, more impact-resistant color coverage
- Nickel or chrome plating for a mirror finish or added surface hardness
- Passivation for stainless parts exposed to moisture
- Bead blasting or polishing as a pre-treatment or standalone cosmetic finish
Before anodizing, the part needs bead blasting or polishing to even out the surface. Skip that step and you'll get inconsistent color and, worse, microcracks that can shorten fatigue life. Hardened parts may also need a stress-relief step before finishing to avoid warping after the fact.
Pro Tip: If color match matters across a batch, spec a surface roughness (Ra) target up front. Anodize color response depends heavily on how the surface was prepped, and a hardcoat thickness spec will keep multiple parts consistent.
How Much Do CNC Motorcycle Parts Cost and Take to Make?
A single prototype costs more per piece and takes longer to turn around than the same part ordered in a small batch, because setup and programming time gets spread across more units once you scale up.
The main cost drivers are:
- Material cost and machinability
- Number of separate setups required
- Total machine hours per part
- Finishing and coating requirements
- Inspection depth (a quick caliper check versus a full CMM report)
- Total quantity ordered
For a single prototype, expect a timeline measured in hours to a few days, with a higher effective hourly rate because setup cost isn't shared. A small batch of 1 to 100 pieces usually drops the per-part cost noticeably once the first article is approved, since the programming and fixture work is already paid for.
Rapid-prototyping shops commonly quote 3 to 7 day turnarounds for a first prototype, and tighter tolerances almost always push both cost and lead time higher, since they demand slower cutting speeds and more inspection time.
What Mistakes Cause the Most Problems in Motorcycle Part Machining?
Most machining failures trace back to one of four things: missed datums, the wrong material for the job, under-specified tolerances, or a fixture plan that didn't account for how the part would move during the cut.
Watch for these specific pitfalls:
- Tolerance stack-up across multiple mating parts
- Thermal distortion from aggressive cutting without cooling breaks
- Skipping surface prep before anodize or plating
- Incorrect heat treatment sequencing on steel parts
- Press fits specified without accounting for material expansion
A thin-walled 7075 bracket machined aggressively without stress relief can bow noticeably after finishing, once internal stresses release. The fix is almost always the same: add fillets for support, slow the roughing pass, and re-run a controlled prototype before committing to a full batch.
When something doesn't fit right, measure first, then isolate whether the problem is the design, the material, or the process. Community machinist forums are full of exactly this kind of troubleshooting, and the fixes usually come down to symmetric roughing passes and a stress-relief step before final cuts.
What Should You Send a Shop Before Requesting a Quote?
Send your CAD file, critical dimensions, material choice, finish requirement, and a note on the part's intended function. That's enough for most shops to give you a real quote instead of a guess.
Your file package should include:
- STEP or IGES file (native CAD as a backup)
- PDF drawing with every critical dimension marked
- Tolerance and surface finish callouts
- Material spec, plus material test reports if you need traceability
- Photos showing how the part fits into the assembly
Once you send that, ask the shop:
- What process do you recommend for this geometry?
- What's the realistic lead time for a first article?
- Do you offer CMM inspection or first-article inspection (FAI)?
- Is there a minimum order quantity, and is there a sample charge?
- Will this part need a custom fixture, and does that affect cost?
If your part involves a fitting, confirm the thread standard up front. A thread spec mismatch between NPT and BSP is a surprisingly common and entirely avoidable quoting error.
How Does a Part Actually Move From CAD to Finished Machined Piece?
A CNC kickstand for an electric dirt bike is a good example of how this process plays out in a real shop queue. The customer's CAD model comes in first, gets reviewed for wall thickness and fixture accessibility, then goes back with DFM notes on where a radius needed to be added to avoid a stress riser.
The typical stage-by-stage flow looks like this:
- CAD review and DFM feedback (same day to 48 hours)
- Fixture design for the mounting geometry (1 to 2 days)
- Roughing and finish machining (1 to 3 days depending on complexity)
- Bead blasting and hardcoat anodize (2 to 4 days, often outsourced)
- Dimensional verification and functional fit check (same day)
The part isn't done when it comes off the machine. It's done when it bolts up cleanly and holds the bike's weight without flexing, which is why the fit check against the actual mounting point matters as much as the CMM report.
Lessons from these runs usually feed straight back into the next design revision, whether that's a fillet added for durability or a fixture reused for the next batch. Flying Chip Factory's kickstand line grew directly out of that kind of iterative, real-part feedback loop, not a theoretical spec sheet.
Should You Machine It Yourself or Send It to a Shop?
Base the decision on part criticality, the equipment you actually have access to, and how much inspection the part needs. A cosmetic cover is a fine home-shop project. An axle block or a bearing seat is not, unless you own a CMM and know how to use it.
Run through this quick checklist: how much time do you have, what's your real budget, is a failure a safety issue, what tolerance does the fit require, does it need a coating, and can you verify the result yourself?
Pro Tip: Prototype your rough shape and fitment at home if you have the tools. Once the design is proven, send the final version to a job shop for the precision finishing and inspection that actually matters for safety-critical fits.
How Flying Chip Factory Fits Into Your Build
Flying Chip Factory runs prototype and short-run CNC machining out of Athens, Alabama, with direct machinist access, which means your DFM questions get answered by the person actually running the program, not a sales layer in between.
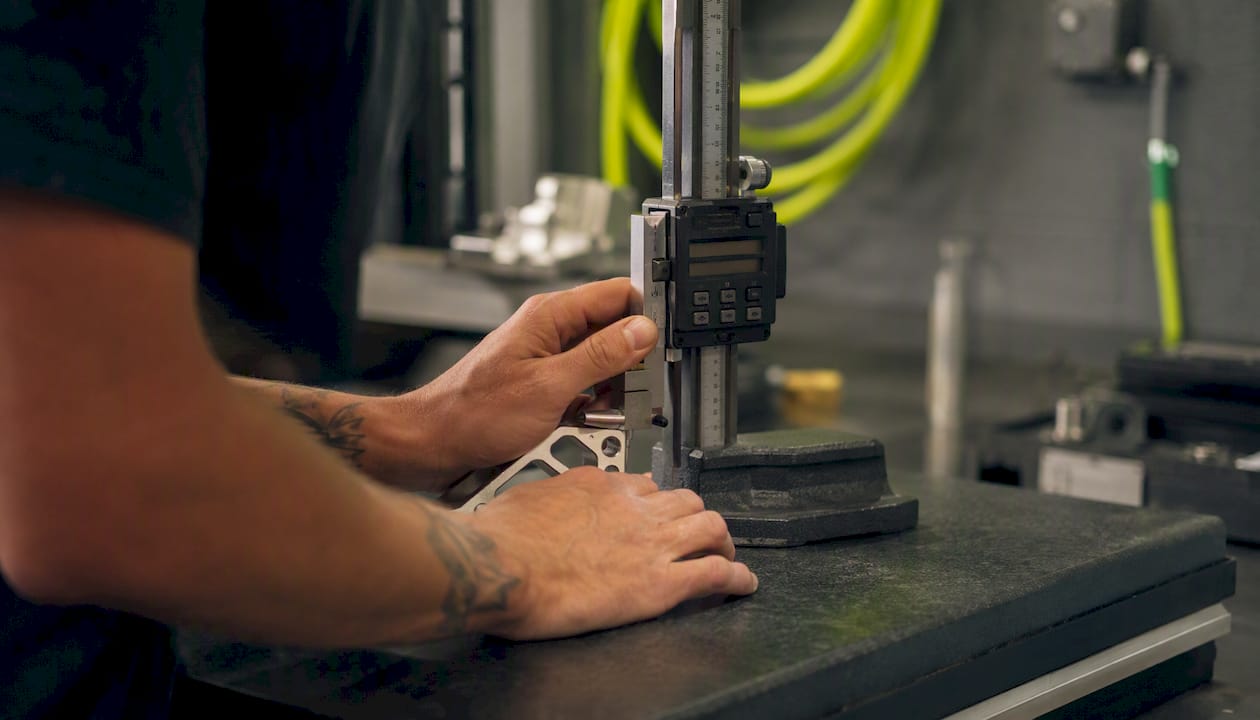
Send over your CAD file, critical dimensions, material choice, target tolerance, and finish requirement, and you'll get back a quote, DFM notes, an expected lead time, and available inspection options. Flying Chip Factory's own kickstand line for electric dirt bikes came out of this exact process, which keeps the shop grounded in real fit and function problems rather than theoretical tolerances. That focus on manufacturability and repeatable results is why the shop leans on fast, direct communication instead of layers of account management.
If you have a part ready to quote, or even a rough sketch you want DFM feedback on, start a quote request and get a real answer from the machinist who would actually cut the part.
Sources
For deeper detail on specific specs mentioned throughout this guide, a few resources are worth bookmarking:
Each covers a piece of the process this guide walked through, from material selection to final inspection.