
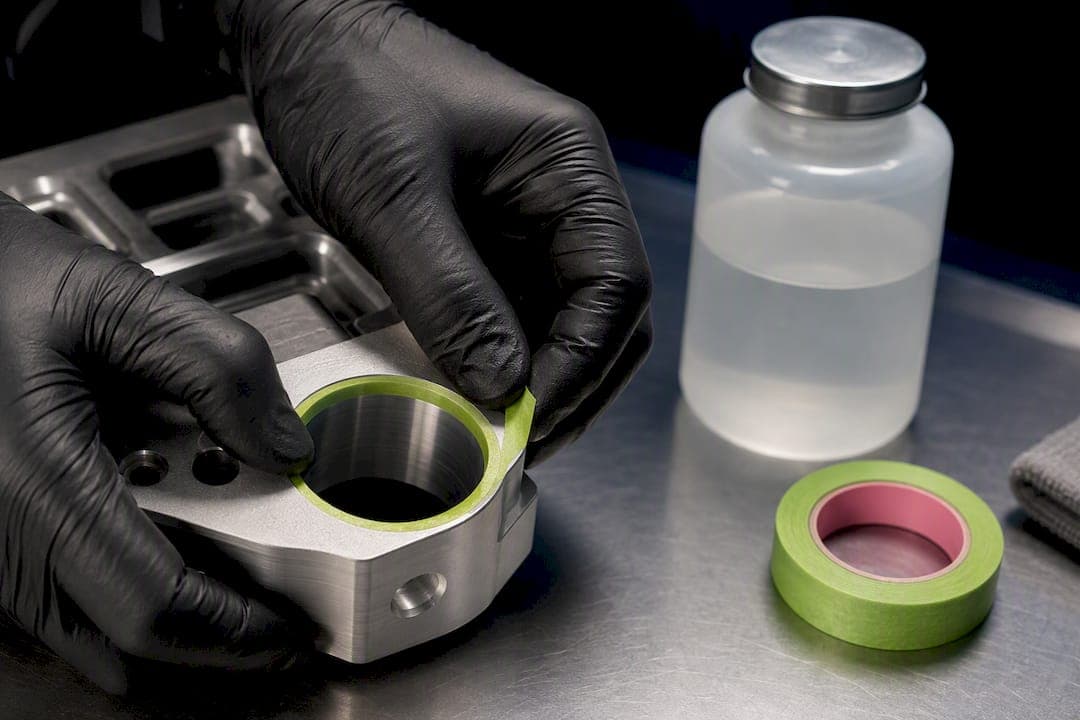
Reliable anodize masking comes down to three material families: polyester (green) tape for general sulfuric and hardcoat work, polyimide (Kapton) for precision and high-heat spots, and UV-curable peelable maskants for cavities that tape can't reach. The rule that separates clean parts from ruined batches is simple: apply firm, even pressure and give the adhesive real dwell time, ideally 12 to 24 hours, 4 to 6 hours at an absolute minimum, before the part touches the tank. Match the tape's adhesive chemistry to the bath (no silicone near chromic acid) and you'll avoid most of the headaches anodizers deal with.
TL;DR:
- Proper dwell time of 12 to 24 hours for maskant adhesion significantly reduces acid bleed-under and leak failures during anodizing.
- Using non-silicone tapes for chromic acid baths prevents contamination that can cause downstream bonding issues.
- Internal features and deep cavities are best protected with UV-curable maskants, which can be applied and cured quickly, saving labor time.
- Choosing the right maskant material depends on bath chemistry, with specific tapes recommended for sulfuric acid, chromic acid, or other baths.
- Applying thorough surface cleaning, sealing seam overlaps, and marking critical surfaces on drawings minimizes rework and improves mask integrity.
What anodize masking is and why it isn't like other masking
Anodizing doesn't coat aluminum. It converts the surface into aluminum oxide through an electrochemical reaction, which means any masking material has to survive both an acid bath and live current, not just sit there keeping paint off a surface. The Aluminum Anodizers Council notes that the process itself alters the substrate beneath the mask, so a maskant failure doesn't just leave a smudge. It lets the bath eat into a surface you meant to protect.
That distinction changes what engineers need to think about before they ever touch a tape roll:
- Oxide growth changes dimensions, which matters on threads, bores, and any hole with a tight tolerance.
- Contact pads and mating surfaces often need masking to preserve electrical continuity or a bare-metal ground path.
- Threaded holes are especially unforgiving. A few thousandths of oxide growth can turn a clean fit into a forced one.
Anyone comparing anodizing to a related conversion coating like Alodine will notice the same theme: process sequence and masking decisions are inseparable.
Masking materials: tapes, plugs, liquids, and when each one earns its spot
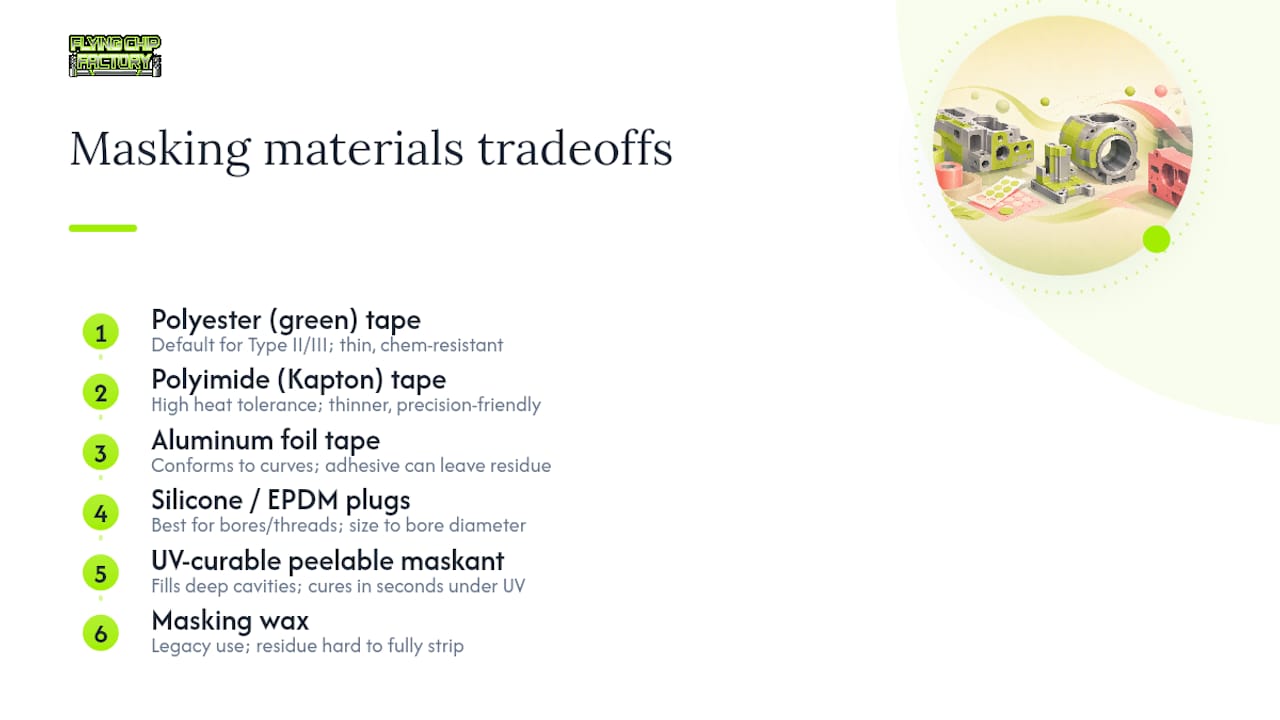
Polyester (green) tape is the default choice for most Type II and Type III jobs. Industry references point to constructions like VGT215 or 3M 8992 as the workhorse standard, thin, chemical-resistant, and easy to trim along edges. Silicone-adhesive versions grip better on textured surfaces, but silicone residue can wreck downstream bonding or painting, so shops running mixed finishing lines often default to non-silicone versions instead.
Polyimide (Kapton) tape handles heat better than anything else on this list, which makes it the go-to for hardcoat anodizing or any part that will see elevated bath temperatures near a masked feature. It's thinner than polyester too, so it leaves a cleaner tolerance footprint on precision bores.
Aluminum foil tape flexes around compound curves that flat tape can't follow, but the adhesive tends to leave residue that needs solvent cleanup after removal.
Silicone and EPDM plugs protect threaded holes and bores far more reliably than tape wrapped around a shaft. Size the plug to the bore diameter, not the nominal thread size, or it won't seal.
UV-curable peelable maskants, like Dymax SpeedMask, pour or brush into deep cavities and internal features that tape simply can't reach, then cure in seconds under UV light instead of the hours a solvent-based lacquer needs.
Masking wax still shows up in legacy shop processes, but it's fallen out of favor because wax residue is notoriously hard to fully strip and risks contaminating the next bath.
Pro Tip: Keep a dedicated roll of non-silicone tape in the shop specifically for chromic-acid jobs. Grabbing whatever silicone tape is closest is how silicone contamination sneaks into a Type I bath.
Matching maskant to anodize type and bath chemistry
Bath chemistry decides which adhesive you're allowed to use, not personal preference. Mixing this up is one of the most common and costly mistakes on a shop floor.
- Type I (chromic acid): avoid silicone-PSA tapes entirely. Non-silicone rubber constructions, like 3M's 8985L, are built specifically to keep silicone out of chromic baths, since even trace contamination causes bonding failures downstream.
- Type II and Type III (sulfuric acid and hardcoat): silicone-PSA polyester and polyimide tapes are standard here. Hardcoat runs hotter and longer, so confirm the tape's temperature rating before committing a full rack to it.
- Boric-sulfuric and phosphoric baths: these lower-hazard alternatives to straight sulfuric still demand acid-resistant maskants; check the datasheet's chemical-resistance chart rather than assuming any "anodize tape" label covers every bath.
Dimensional effects from oxide growth compound with bath type, and NASA's anodizing specification recommends alternative design or conversion coatings when a masked hole's tolerance can't absorb that growth.
Application and removal steps that actually prevent leaks
Get this sequence right and you'll cut rework to nearly zero.
- Degrease and deoxidize the surface fully. Any oil film under tape becomes a highway for acid bleed-under.
- Dry completely. Trapped moisture under a mask behaves the same way as trapped oil.
- Apply the maskant with firm, even pressure, working from center outward to avoid trapping air pockets.
- Burnish every edge with a rubber roller or a plastic squeegee. Edges are where 90% of leaks start.
- Let it dwell. Industry guidance calls for 12 to 24 hours as the ideal window, 4 to 6 hours minimum, so the adhesive flows into microscopic surface crevices instead of leaving gaps.
- Overlap seams generously and seal any joints before racking. A rack contact point on an unmasked seam is a common source of stray marks.
- Remove while the part is still slightly warm. Peel at a low angle rather than straight up, and keep a compatible solvent on hand for acrylic-adhesive residue.
Pro Tip: Mask parts the afternoon before an anodize run, not the morning of. That extra overnight dwell time is the cheapest insurance in the whole process.
Common failure modes and a fast troubleshooting checklist
Most anodize masking problems trace back to one of four causes, and the fix is usually straightforward once you know which one you're looking at.
- Acid bleed-under: almost always a dwell-time or pressure problem, sometimes the wrong tape for the bath. Remask with adequate dwell and retest before blaming the chemistry.
- Adhesive transfer or residue: solvent wipe-down handles most acrylic residues; stubborn silicone contamination may need mechanical abrasion.
- Tolerance surprises in masked holes: oxide growth adds thickness even under masking if the seal isn't perfect. Design in extra clearance or switch to plugs rated for that bore.
- Persistent leakage on complex geometry: if tape keeps failing on a compound curve or deep pocket, that's the signal to switch to a flowable UV-curable maskant instead of fighting the tape.
Flying Chip Factory's shop checklist for drawing-ready masking
A consistent sequence of cleaning, masking, dwelling, anodizing, and warm peeling is essential for finishing CNC parts successfully. Simple, but skipping a step is where most failures happen. Plugs handle round bores and threaded holes; tape covers flat mating surfaces and contact pads; liquid maskant goes into pockets and internal features nothing else can reach.
For engineers writing drawings, four callouts save the anodizer real guesswork later:
- Mask layer clearly noted on the model or print
- Intended maskant family and expected removal window
- Racking contact points marked so they don't land on a critical surface
- Allowable tolerance change from oxide growth, especially on any masked bore
Drawings with these four items move through finishing faster because nobody has to guess what the designer intended.
Cost implications and sourcing tips for masking materials
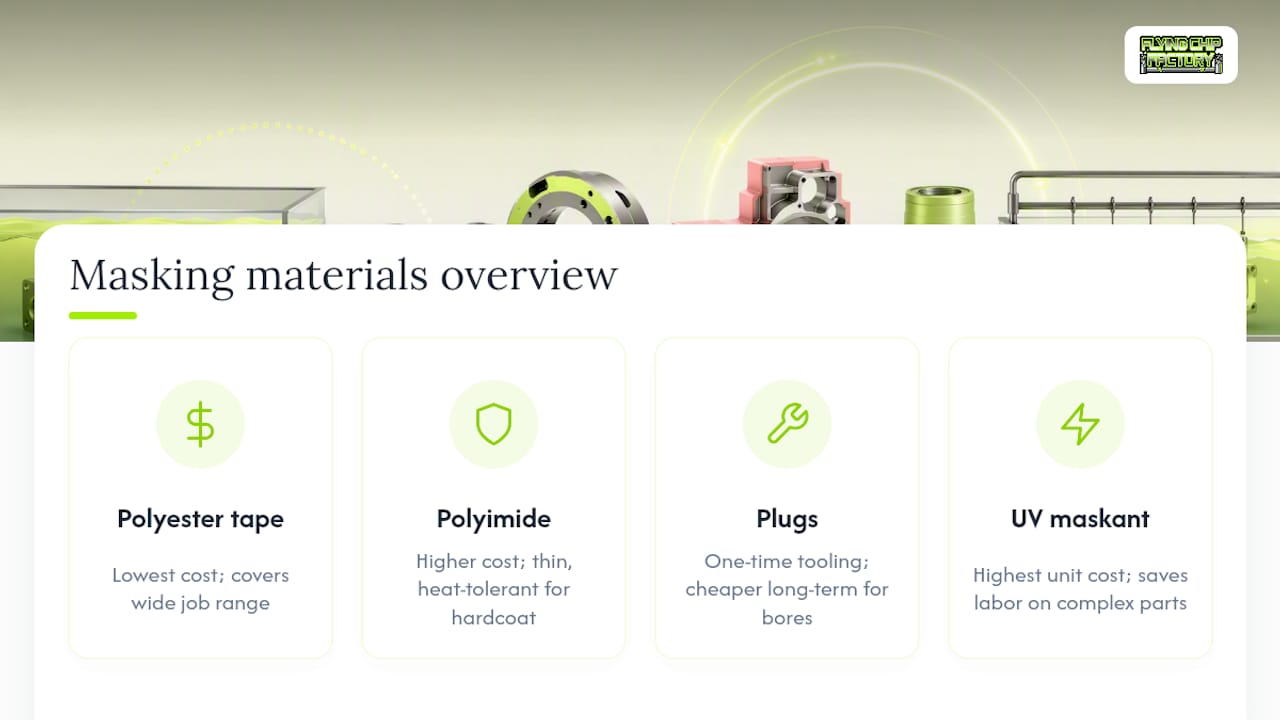
Polyester green tape runs cheapest per linear foot and covers the widest range of jobs, which is why it's the default stock item in most shops. Polyimide costs more, but its thinness and heat tolerance justify the premium on hardcoat or precision work where a fraction of a thousandth actually matters. Silicone and EPDM plugs are a one-time tooling cost per bore size. Buy a set once and they outlast dozens of production runs, which makes them cheaper than tape in the long run for any part with repeat round features.
UV-curable peelable maskants carry the highest per-unit cost of the group, but they cut labor time dramatically on complex or high-mix parts where hand-cutting tape would eat far more shop hours than the material itself costs. For low-volume prototype work, stick with tape and plugs. For production runs with repeat internal geometry, the labor savings on liquid maskant usually pay for the equipment within a few batches.
Sourcing-wise, buy from suppliers who publish full datasheets rather than generic "anodize tape" listings with no adhesive or temperature specs attached. A tape with no stated chemical-resistance chart is a bet, not a spec.
What actually matters in anodize masking, and what doesn't
Most advice on this topic treats tape selection as the hard part. It isn't. The materials in this article all work when used correctly, and the failure data consistently points to one variable: dwell time. Shops that mask a part and drop it in the tank an hour later are gambling with acid bleed-under regardless of which tape they bought.
Where conventional advice falls short is treating masking as an afterthought bolted onto the end of machining instead of a decision made at the drawing stage. A print that specifies mask layer, maskant family, and allowable tolerance change up front saves more rework than any premium tape ever will. The recommendation emphasized to CNC customers is to specify masking details on the drawing before the part reaches finishing.
If you're prioritizing one thing, prioritize dwell time over material cost. A cheaper tape with a full overnight cure beats an expensive tape rushed into the tank in under an hour, every time.
— Drake
Sources
For datasheet-level detail beyond what's covered here, check The Aluminum Anodizers Council for process fundamentals, NASA's PRC-5006 specification for dimensional and surface-prep requirements, and the Handbook of Anodizing for pore structure and sealing guidance. When comparing tape products, check the temperature window, adhesive chemistry, and chemical-resistance rating before anything else.
- Anodizing
- NASA technical specification (PRC-5006) — anodizing guidance
- Viadon: Anodizing masking solutions
- 3M™ Anodization Masking Tape 8985L product page