
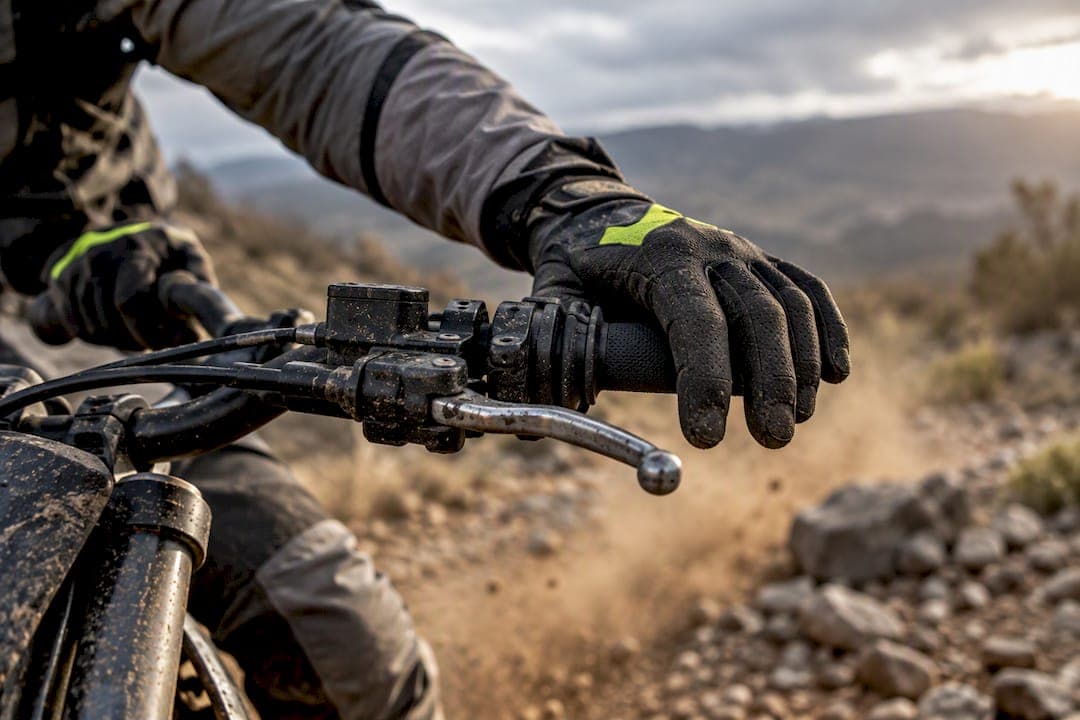
Start with grips and a technique check, both cost almost nothing and fix a surprising amount of hand fatigue. If numbness or arm pump persists after that, add mass to the bars with inserts or filler, then inspect your clamps and mounts for wear. When vibration stays constant no matter what you swap, the fix moves into tuned absorbers or custom-machined mounts built for your specific bike.
TL;DR:
- Softer, higher-volume grips can reduce shock transfer, but the best overall results come from combining hardware adjustments with riding technique changes.
- Persistent vibration at specific frequencies indicates a need for engineering solutions like tuned vibration absorbers or custom mounts, especially if quick fixes have failed.
- Loose or worn clamps, riser bushings, or steering head bearings often cause vibrations, making hardware inspection crucial before seeking advanced fixes.
- Adding mass with fillers or inserts helps dampen transmitted shock, yet it does not address arm pump caused by circulation or technique issues.
- Custom-machined parts, designed by machinists, offer targeted solutions for persistent vibration problems beyond standard consumer fixes.
What Causes Dirt Bike Handlebar Vibration in the First Place?
Handlebar vibration comes from four main sources: engine harmonics, driveline slop, wheel imbalance, and terrain impacts transmitted straight through the forks. Each source vibrates at a different frequency, and your hands don't feel them equally. Lower frequencies show up as bar shake you can see; higher frequencies show up as numbness and tingling, because they hit the nerves in your palms and fingers harder than the muscle can absorb.

Lab testing on motocross bikes found that handlebar and steering-plate design has a surprisingly limited effect on the most harmful frequency bands, and riders can reach EU vibration exposure limits in under an hour of hard riding. That same research found something counterintuitive: how comfortable a bar felt didn't match how much vibration it actually measured. A setup that feels smooth in the parking lot can still be hammering your hands on track. Grip pressure and contact area also change the equation. A death grip transmits more shock than a relaxed one, which is why technique and hardware fixes work best together.
Quick Fixes: Grips, Gloves, and Bar Inserts You Can Try Today
Before you touch a wrench, look at what's already between your hands and the bar.
Grips. Softer compound, higher-volume grips absorb more shock than thin, hard-compound grips built purely for feel. If you're running a race-thin grip because it feels "connected," you're also feeling every impact the bar transmits. A slightly thicker, softer grip won't ruin your bar feel, but it will take the edge off chatter.
Gloves. Tight gloves restrict circulation, and restricted circulation is a direct contributor to arm pump and numbness, according to guidance from Dirtbike Planet. Gel-padded gloves cut vibration transfer at the palm, but bulk costs you throttle feel. Thin gloves preserve control but pass more vibration through. Pick based on which problem hurts you more: numbness or lack of feel.
Bar inserts and added mass. Closed-end inserts, lead shot, steel shot, or silicone filler all increase the bar's mass, and added mass changes how the bar responds to vibration at certain frequencies. Riders on forums have reported filling bar ends with lead or silicone with real results, though outcomes vary a lot bike to bike. Vendor guides on reducing handlebar vibration note that inserts help with transmitted shock but don't necessarily fix the muscle fatigue that causes arm pump, since that's a technique and circulation issue, not a mass issue.
Swapping grips safely:
- Slice old grips off with a utility knife rather than yanking; you'll avoid damaging the bar surface.
- Spray compressed air or isopropyl alcohol under new grips to seat them without glue fumes.
- Let alcohol fully evaporate before riding, a grip that spins under load is worse than the vibration you started with.
Riding Technique That Cuts Arm Pump and Perceived Vibration
Hardware only gets you halfway. How you ride the bike changes how much of that vibration actually reaches your forearms, and trainers who work with pro-level riders treat technique as the first fix, not the last resort.
- Keep elbows up and away from your body, this lets your arms act as shock absorbers instead of rigid poles.
- Grip the bike with your knees and boots, not your hands, so your forearms aren't doing double duty as a clamp.
- Consciously relax your grip on straights and in the air, tension builds even when you don't notice it.
- Breathe deliberately through rough sections, holding your breath tightens forearms without you realizing it.
Warming up before you ride matters more than most riders think. Light stretching and a few minutes of easy riding improve circulation, and better circulation means your forearms clear lactic acid faster instead of pumping up. Coaching guidance from Motocross Action's Troll Training backs this up directly: riders who focus on relaxed hands, centered head position, and steady breathing report noticeably less arm pump than riders chasing the same result through equipment alone.
Pro Tip: Pick two or three spots on every lap where you deliberately shake out your hands and reset your grip pressure. Doing this before your forearms start burning, not after, keeps pump from building past the point of no return.
Check Your Clamps and Mounts Before You Blame the Bar
Vibration complaints often trace back to loose or worn hardware, not the bar itself. A quick shop inspection catches most of it.
- Torque triple clamp bolts and bar clamp bolts to spec, uneven torque lets the bar micro-shift under load, which feels like vibration but is really play.
- Check riser bushings for cracking or compression, worn bushings stop absorbing shock and start transmitting it straight to your hands.
- Inspect the steering head bearings, looseness here shows up as vibration long before it shows up as obvious steering slop.
- Look at riser height and offset, taller or stiffer risers change which frequencies reach the bar, sometimes for better, sometimes for worse.
Stiffer clamps generally transmit more high-frequency chatter, while a more compliant mount setup, like an isolated handlebar mount system, can soften that transfer without turning the steering vague. If you've replaced grips, added mass, and torqued everything to spec and the vibration hasn't changed, the bar or mounting geometry itself may be the actual problem, and that's a signal to look at replacement rather than another round of quick fixes.
When Grips Aren't Enough: DVAs and Particle Damping
Once you've exhausted the cheap fixes, the next tier is engineering, not guesswork. Two approaches have real test data behind them.
A dynamic vibration absorber (DVA) is a small tuned mass-spring system mounted to the bar that's designed to counteract vibration at one specific frequency. Get the tuning right and the results are significant: a DVA tuned near 200 Hz produced 59 to 68 percent attenuation at certain road speeds in experimental testing. That's a real, measurable cut in transmitted vibration, not a marketing number.
Particle damping works differently. Coated steel particles sit in a sealed reservoir inside the hollow bar and absorb energy as they collide with each other under vibration. Testing on this method found attenuation factors up to a factor of six at the frequencies examined, roughly around 60 Hz, according to research published in the journal Vib.
Both approaches come with trade-offs worth knowing before you commit:
- Added mass changes bar feel and can shift how the bike responds to steering input.
- A DVA tuned for one frequency can actually amplify vibration at a different frequency if it's mismatched to your bike's actual excitation range.
- Particle damping adds weight and manufacturing complexity compared to a simple insert.
- Both require on-bike testing across your real speed range, not just a single controlled test, before you treat them as permanent.
Your Pre-Ride and Shop Vibration Checklist
Run through this before every ride and every wrench session:
- Squeeze-test bar clamps and lever perches for play before you start the bike.
- Check grip condition, cracked or glazed grips transmit more shock than fresh ones.
- Confirm glove fit isn't cutting off circulation at the wrist.
- In the shop, verify torque specs on triple clamps and risers against your service manual.
- Inspect inside the bar ends for shifted filler mass or insert damage after hard crashes.
- Check wheel balance and suspension sag, both feed vibration up through the bars even when the bar itself is fine.
If vibration remains constant despite passing every check, that's the point to measure it properly or talk to a machinist about a custom solution rather than cycling through more consumer parts.
How Flying Chip Factory Thinks About Vibration Reduction

This article draws on machining and design experience from Drake, a motorcycle parts designer and rider who builds CNC parts by hand and rides the bikes he designs for. That background shapes how Flying Chip Factory approaches vibration: not as a grip-and-glove problem alone, but as a mechanical one that sometimes needs a mechanical answer.
The shop is developing an isolated handlebar mount system built to reduce trail chatter and hard impacts while keeping steering precise, aiming to address a common trade-off riders struggle to balance with off-the-shelf inserts alone. The shop also takes on prototype machining, custom mounts, and fixture work for riders and small manufacturers who need a specific fix that generic parts don't cover.
— Drake
When Should You Stop Tinkering and Call a Machinist?
If vibration hits the same frequency every ride regardless of grips, gloves, or added mass, that's systemic, not cosmetic. Repeated hardware failure or persistent numbness after a full inspection are signals worth acting on. At that point, measure what you're feeling, document when it happens, and bring specifics to a shop instead of buying another round of inserts.
Ready for a Purpose-Built Fix Instead of Another Insert?
Grips, gloves, and lead shot solve a lot of complaints, but they don't fix a bar or mount that's simply wrong for how you ride. Flying Chip Factory approaches vibration the way a machinist does: measure the problem, then build the part that actually solves it, rather than stacking more consumer fixes on top of each other. That's the thinking behind BDE Bar Mounts, and it's the same approach behind the shop's E2 Kickstand for the KTM SX-E 2, GASGAS MC-E 2, and Husqvarna EE 2, a bolt-on part designed and machined in-house rather than outsourced through a parts catalog.

If your bike needs something no catalog part covers, whether that's a custom bracket, a fixture, or a short production run, Flying Chip Factory's shop handles the design and machining directly, with no sales layer between you and the person cutting the part. Reach out with your specs and get a quote on the exact fix your bike actually needs.
Sources
This article draws on lab-measured vibration exposure data, published engineering research on tuned mass dampers and particle damping, and rider technique guidance from Motocross Action's Troll Training series, along with practical fixes documented by riders and vendor guides across the motocross community.
- Troll training: reducing arm pump through technique — Motocross Action Magazine
- Hand-arm vibration in motocross — Extremesportmed (study summary)
- Development of dynamic vibration absorber for motorcycle handlebar — MATEC Conferences (ICVSSD 2018)
- Particle damping applied to motorcycle handlebars — Vib (DOI article)
- Fore Arm Pump And How To Beat It! — Dirtbike Planet
FAQ
How do I reduce handlebar vibration on a dirt bike?
Start with softer, higher-volume grips and a technique check (elbows up, relaxed grip, steady breathing), since both cut transmitted shock at almost no cost. If vibration persists, add mass to the bars with inserts or filler, inspect your clamps and mounts for wear, and consider a tuned vibration absorber if the problem is constant and frequency-specific.
What are the best grips for reducing vibration on a dirt bike?
Softer-compound, higher-volume grips generally absorb more shock than thin, race-style grips built for bar feel alone. The trade-off is a slightly less connected feel, which most riders find worth it once numbness sets in during longer motos.
Does silicone reduce handlebar vibration?
Silicone filler poured into hollow bar sections is a common rider-tested fix reported in forum discussions, and it can add enough mass to change how certain frequencies transmit through the bar. Results vary by bike and riding style, so treat it as a low-cost experiment rather than a guaranteed fix.
Do anti-vibration gloves really work?
Padded gloves cut vibration transfer at the palm, but gloves that fit too tightly restrict circulation, and poor circulation is a direct contributor to arm pump, according to Dirtbike Planet's guide on the condition. The right fit matters more than the padding itself.
Can bar mounts alone fix handlebar vibration?
Bar mounts and clamp stiffness change how much high-frequency chatter reaches your hands, but lab testing shows handlebar hardware alone has limited effect on the most harmful frequencies. Isolated mount systems like BDE Bar Mounts, currently in development at Flying Chip Factory, aim to soften that transfer while keeping steering feel intact, but they work best combined with grip, glove, and technique fixes rather than as a standalone solution.